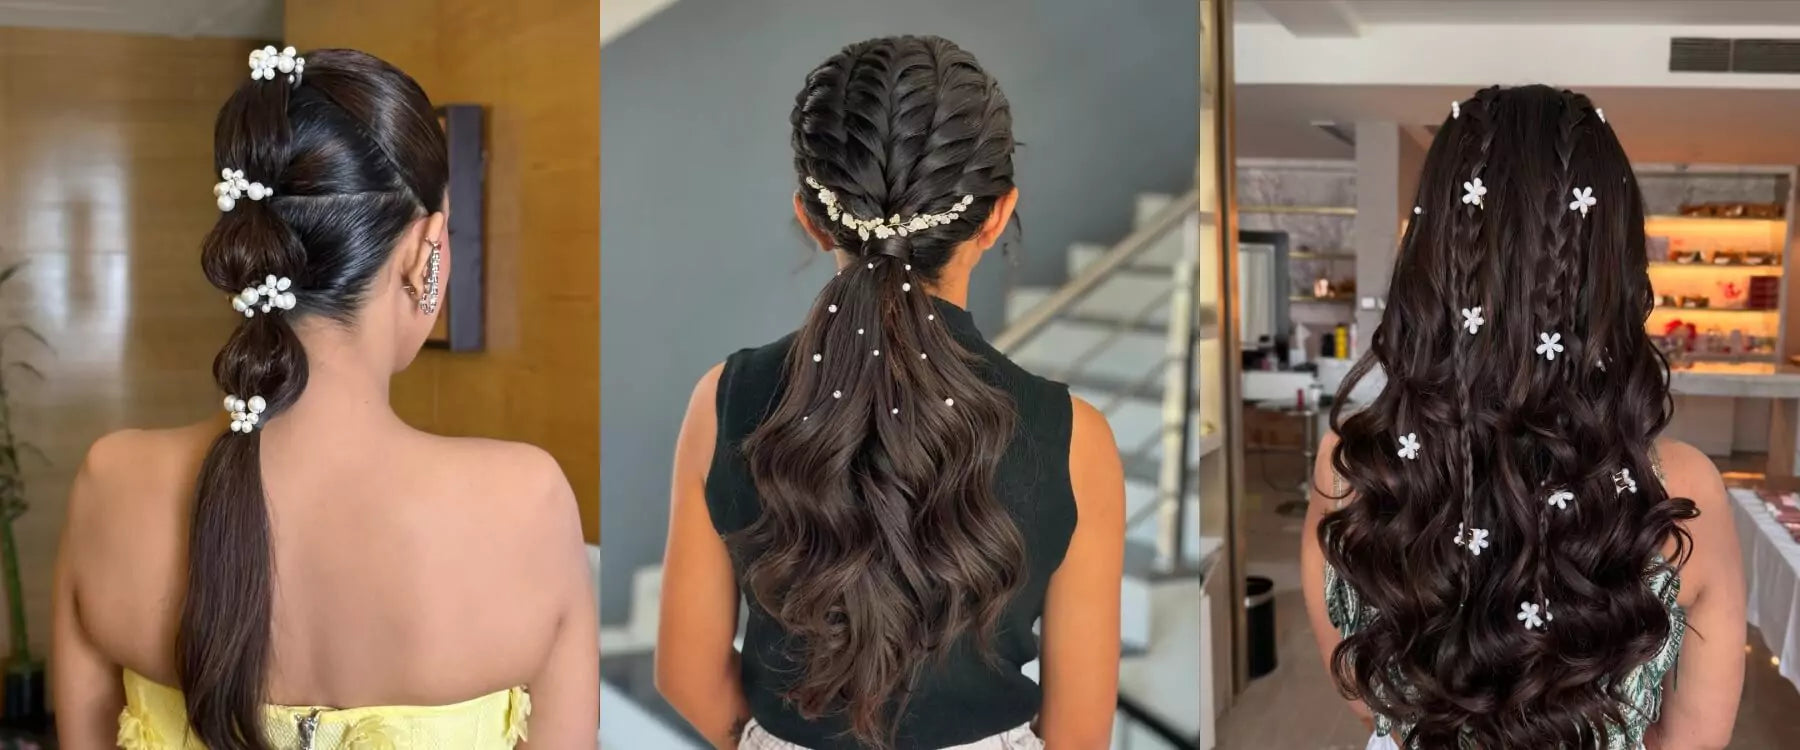
A good hairstyle can elevate your look in seconds. Wigs are a great option if you want to change your look from your basic natural hairstyle. But what happens when you want to give your wig a style refresh? It’s simple, change the part!
Changing the part on your wig can be a game-changer for your overall look. It’s a simple way to give your regular wig a refresh. Whether you're aiming to switch from a middle part to a stylish side part or experiment with a different parting altogether, it's crucial to get it just right. After all, nobody wants their wig to appear strange or unnatural. Today, we'll get into detail and learn how to change the part on your wig. We will discuss the step-by-step process to achieve a seamless and effortlessly natural appearance. So, get ready to master the art of wig parting like a pro!
Steps to Change Wig Parting
We’ll begin with the basic steps and then look at some expert tips and tricks to ensure that the wig looks great even after switching the part.
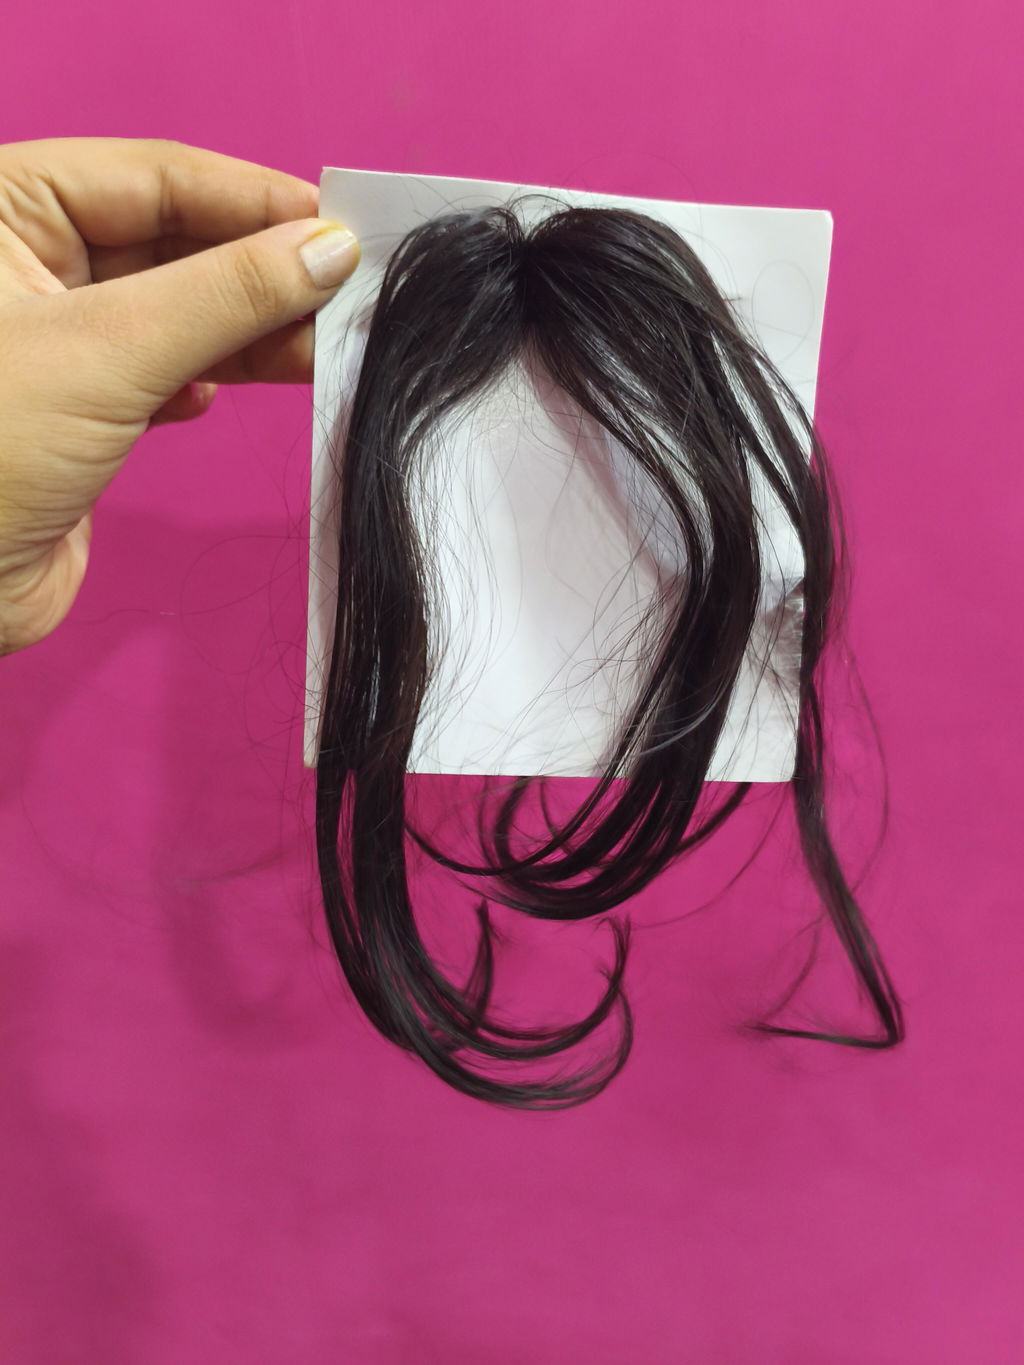
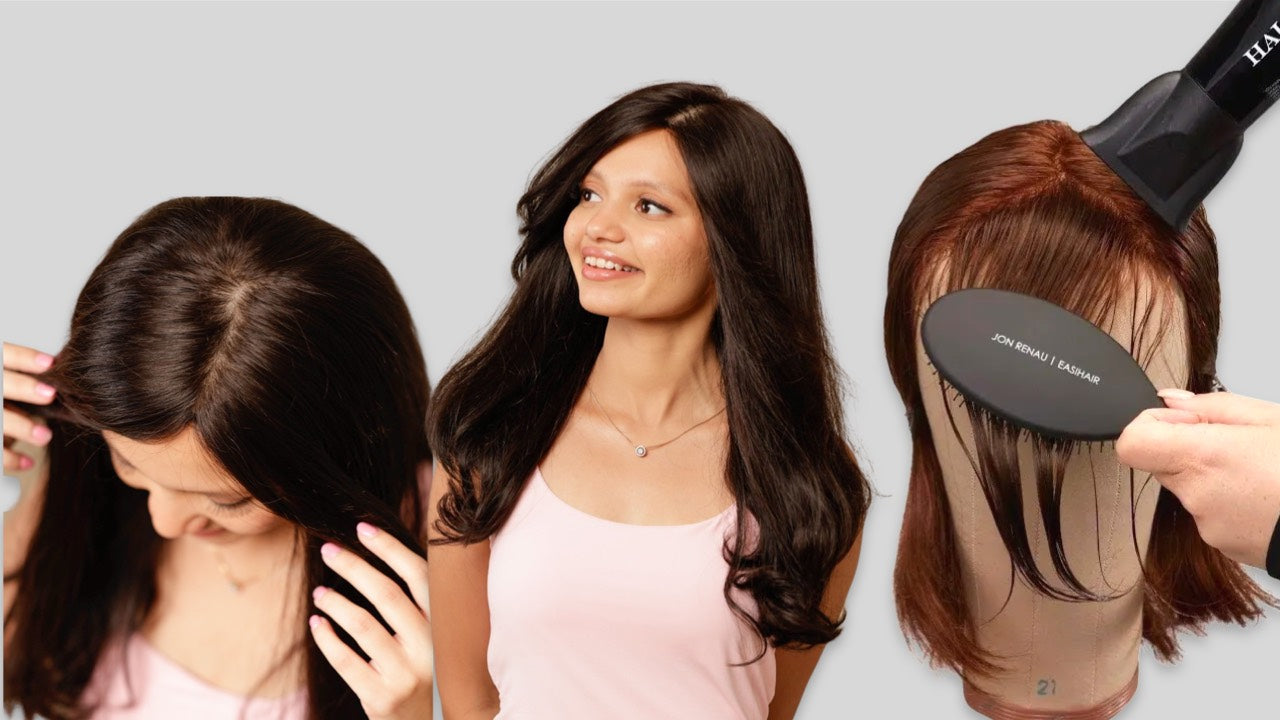
Step 1: Selecting the Right Wig
Before getting into the details of the process, let’s first figure out how to find the right wig. Once you get the wig right, it’s all a breeze. Take the following factors into consideration before buying your wig:
a. Wig Type
Decide whether you prefer a synthetic wig or a human hair wig. Synthetic wigs are more affordable and low-maintenance, while human hair wigs offer a more natural look and can be styled using heat tools.
b. Cap Construction
Look for wigs with a lace front or monofilament cap construction. These features allow for a realistic-looking part and give you more flexibility in changing the parting.
c. Hair Texture
Choose a wig with a hair texture that matches your natural hair or desired style. Options range from straight and wavy to curly and kinky.
Selecting the right wig sets the foundation for a successful part change.
Step 2: Preparing the Wig
Before you begin changing the part on your wig, it's important to prepare it properly. Follow these steps:
a. Detangling
Gently comb through the wig using a wide-tooth comb or wig brush to remove any tangles or knots. Start from the ends and work your way up to avoid damaging the hair fibers.
b. Washing and Conditioning
If your wig is fresh, great! You can move to the next step. But if your wig is used and appears a little greasy then you need to shampoo and condition it before moving ahead. Use a mild shampoo followed by a moisturizing conditioner. Clean hair is easier to work with and allows for better styling results.
Step 3: Shifting the Part
Now it's time to change the part on your wig. Follow these steps for a seamless transition:
a. Locate the Current Part
Identify the current part on your wig by looking for the area where the hair is separated.
b. Wetting the Hair
Identify the area where you want to create your new parting. Now, around it, spray water mixed with a little amount of leave-in conditioner. This will make the hair soft and hence easier to style.
c. Sectioning
Divide the hair into sections using hair clips or hair ties. This will help you focus on one area at a time and create a clean and precise part.
d. Comb and Smooth
Once you have the sections in place, take a comb or a wig brush and set the hair in the new direction by gently brushing them a couple of times.
e. Creating the New Part
Now, using your fingers, create a new part by gently separating the hair along the sections. You may not get it right the first time, and that’s okay. Keep going until you are happy with the new parting.
f. Securing the Part
Once you're satisfied with the new part, use small hair clips or bobby pins to hold the hair in place. Leave the clips on for sometime or preferably over night. This will allow the hair some time to set in the new direction.
Step 4: Styling and Blending
To achieve a natural look with the new part, it's important to style and blend the wig:
a. Styling Tools
Use styling tools such as a flat iron, curling iron, or hot rollers to create the desired hairstyle. Follow the recommended temperature settings for synthetic or human hair wigs to avoid heat damage.
b. Adding Volume
If needed, use a teasing comb or brush to gently tease the roots along the part and create volume. This will give the hair a more natural and lifted appearance.
c. Blending with Natural Hair
If you have any natural hair exposed at the front, blend it with the wig by using a fine-tooth comb or your fingers to carefully blend the two together. Apply some styling product, such as gel or pomade, to help smooth and blend the natural hair with the wig.
d. Finishing Touches
Apply a small amount of hairspray or wig styling product to set the part and any styled sections. This will help maintain the look and hold the style in place.
Tips For Maintenance and Care
To ensure the longevity of your wig and the longevity of the new part, follow these maintenance and care tips:
Tip 1 | Avoid Frequent Part Changes
Changing the part too frequently can weaken the wig cap and affect the overall lifespan of the wig. Stick to occasional part changes to maintain the wig's integrity.
Tip 2 | Gentle Handling
Handle the wig with care, especially around the new part area, to prevent tangling, shedding, or damage to the hair fibers.
Tip 3 | Proper Storage
Store your wig on a wig stand or in a wig box when not in use to maintain its shape and prevent tangles.
Tip 4 | Regular Cleaning
Follow the manufacturer's instructions for cleaning and conditioning your wig. Regular maintenance will keep the hair looking fresh and vibrant.
Conclusion
Changing the part on a wig opens up a world of styling possibilities. By following these expert steps, you can confidently switch from a middle part to a side part or experiment with different parting styles, achieving a natural and flawless appearance. Remember to select the right wig, prepare it properly, shift the part with precision, style and blend the hair, and maintain your wig for long-lasting results. Embrace the versatility of your wig and have fun exploring new looks that suit your personal style. Get ready to rock your wig with confidence and showcase your ever-changing hairstyle with ease!
FAQs
Can I change the part on any type of wig?
While it is possible to change the part on most wigs, some wig types are more suitable for part changes than others. Wigs with a lace front or monofilament cap construction offer the most flexibility and realistic-looking parts. These wig types have a natural-looking scalp-like material that allows for the creation of different partings. However, wigs with a standard cap construction or full lace wigs may have limitations in terms of part changes. It's important to choose a wig with the appropriate cap construction if you intend to change the part frequently.
Will changing the part damage my wig?
Changing the part on your wig, when done correctly and with proper care, should not cause any damage. However, it's important to handle the wig gently and avoid excessive pulling or tugging on the hair fibers. Additionally, changing the part too frequently may weaken the wig cap over time. To maintain the longevity of your wig, it's advisable to limit the number of part changes and follow proper maintenance and care instructions.
Can I change the part on a synthetic wig?
Yes, it is possible to change the part on a synthetic wig. However, it's important to note that synthetic wigs have limitations compared to human hair wigs when it comes to heat styling. Synthetic fibers are more sensitive to heat and can be damaged if exposed to high temperatures. To change the part on a synthetic wig, follow the steps outlined in the guide but avoid using heat styling tools. Instead, use water or a mixture of water and leave-in conditioner to wet the hair and make it more pliable for styling.